Flutter Riverpod Clean Architecture course using the latest api of Riverpod along with Nodejs rest api. This clean architecture course would be same as our BLoC Clean Architecture since they both follow all the features of scalable app building.
This clean architecture Riverpod course focuses to build an e-commerce app with payment. The source code includes backend. So the code we cover userend and backend. But the course will just cover user and how to build nodejs api. Let's look at our previous clean architecture tutorials Clean Architecture With BLoC
Let's take a look at the app features
The source code comes in four flavours.
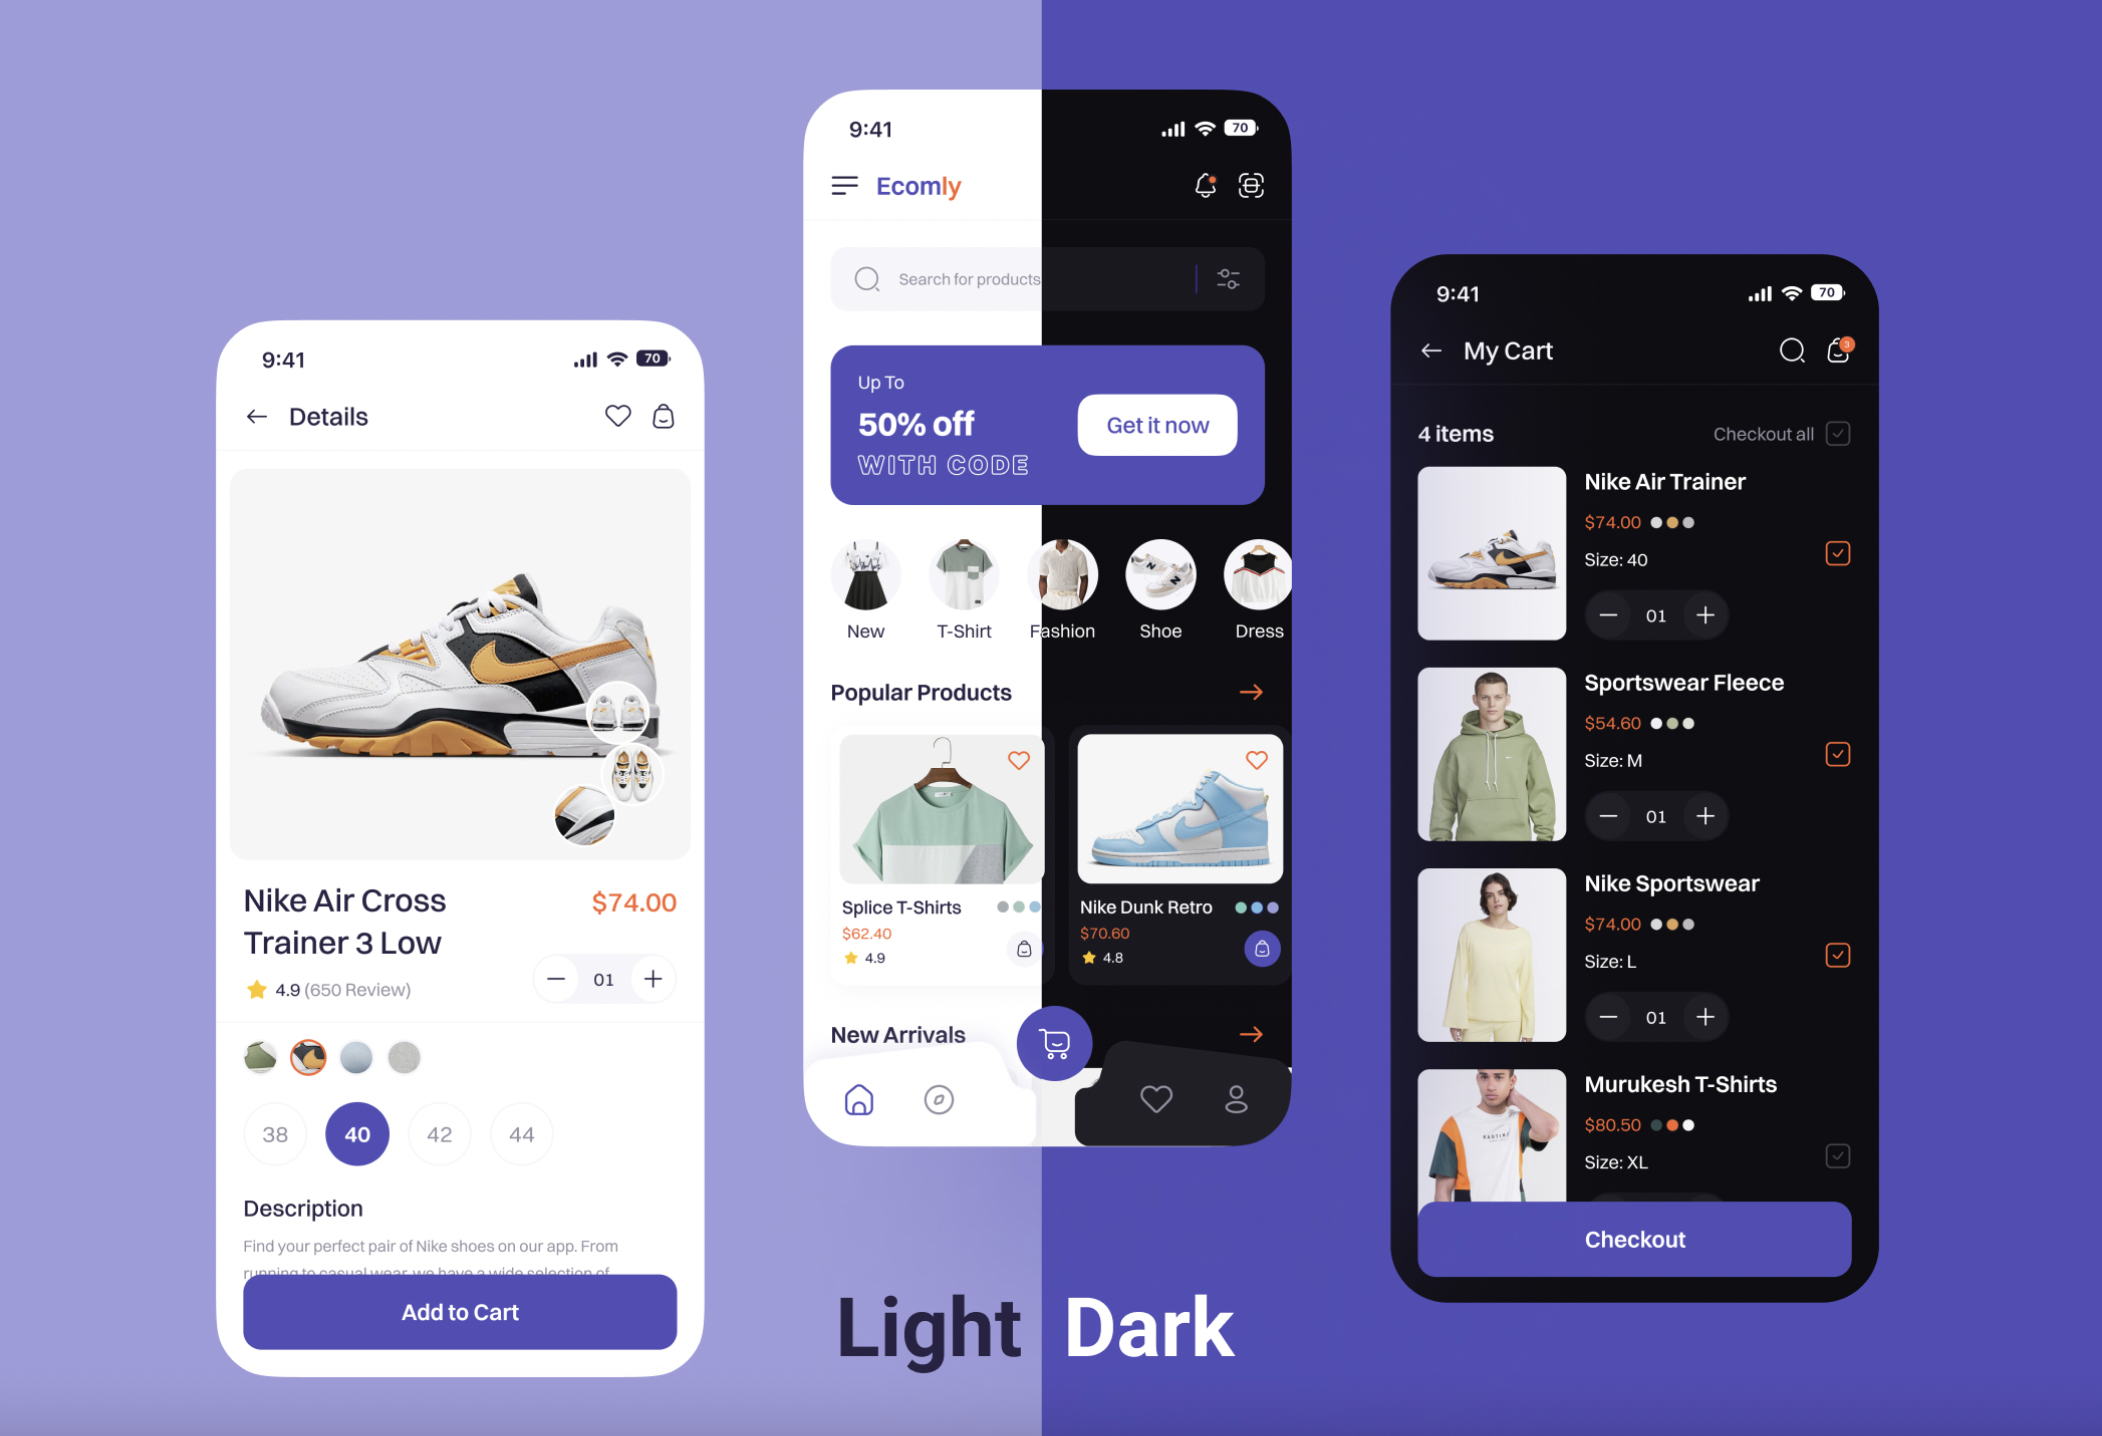
Here will focus on mainly how to integrate Riverpod with clean architecture. Since Riverpod could be a bit anit-clean architecture. We will cover the new features of Riverpod 2.0 and above. You will learn how to build a scalable app with Nodejs api.
1. Riverpod clean architecture tier 1 code
Here is your tier one code and you can unlock it for just $17. It includes core clean architecture features with below app functions
2. Riverpod clean architecture tier 2 code
Here is your tier one code and you can unlock it for just $27. It includes core clean architecture features with all the features of tier 1 and below app functions
3. Riverpod clean architecture tier 3 code
This course comes in 2 parts, to finish these course, you need to buy all two together.
If you buy tier 3, you get free access to all the parts of this course on udemy.
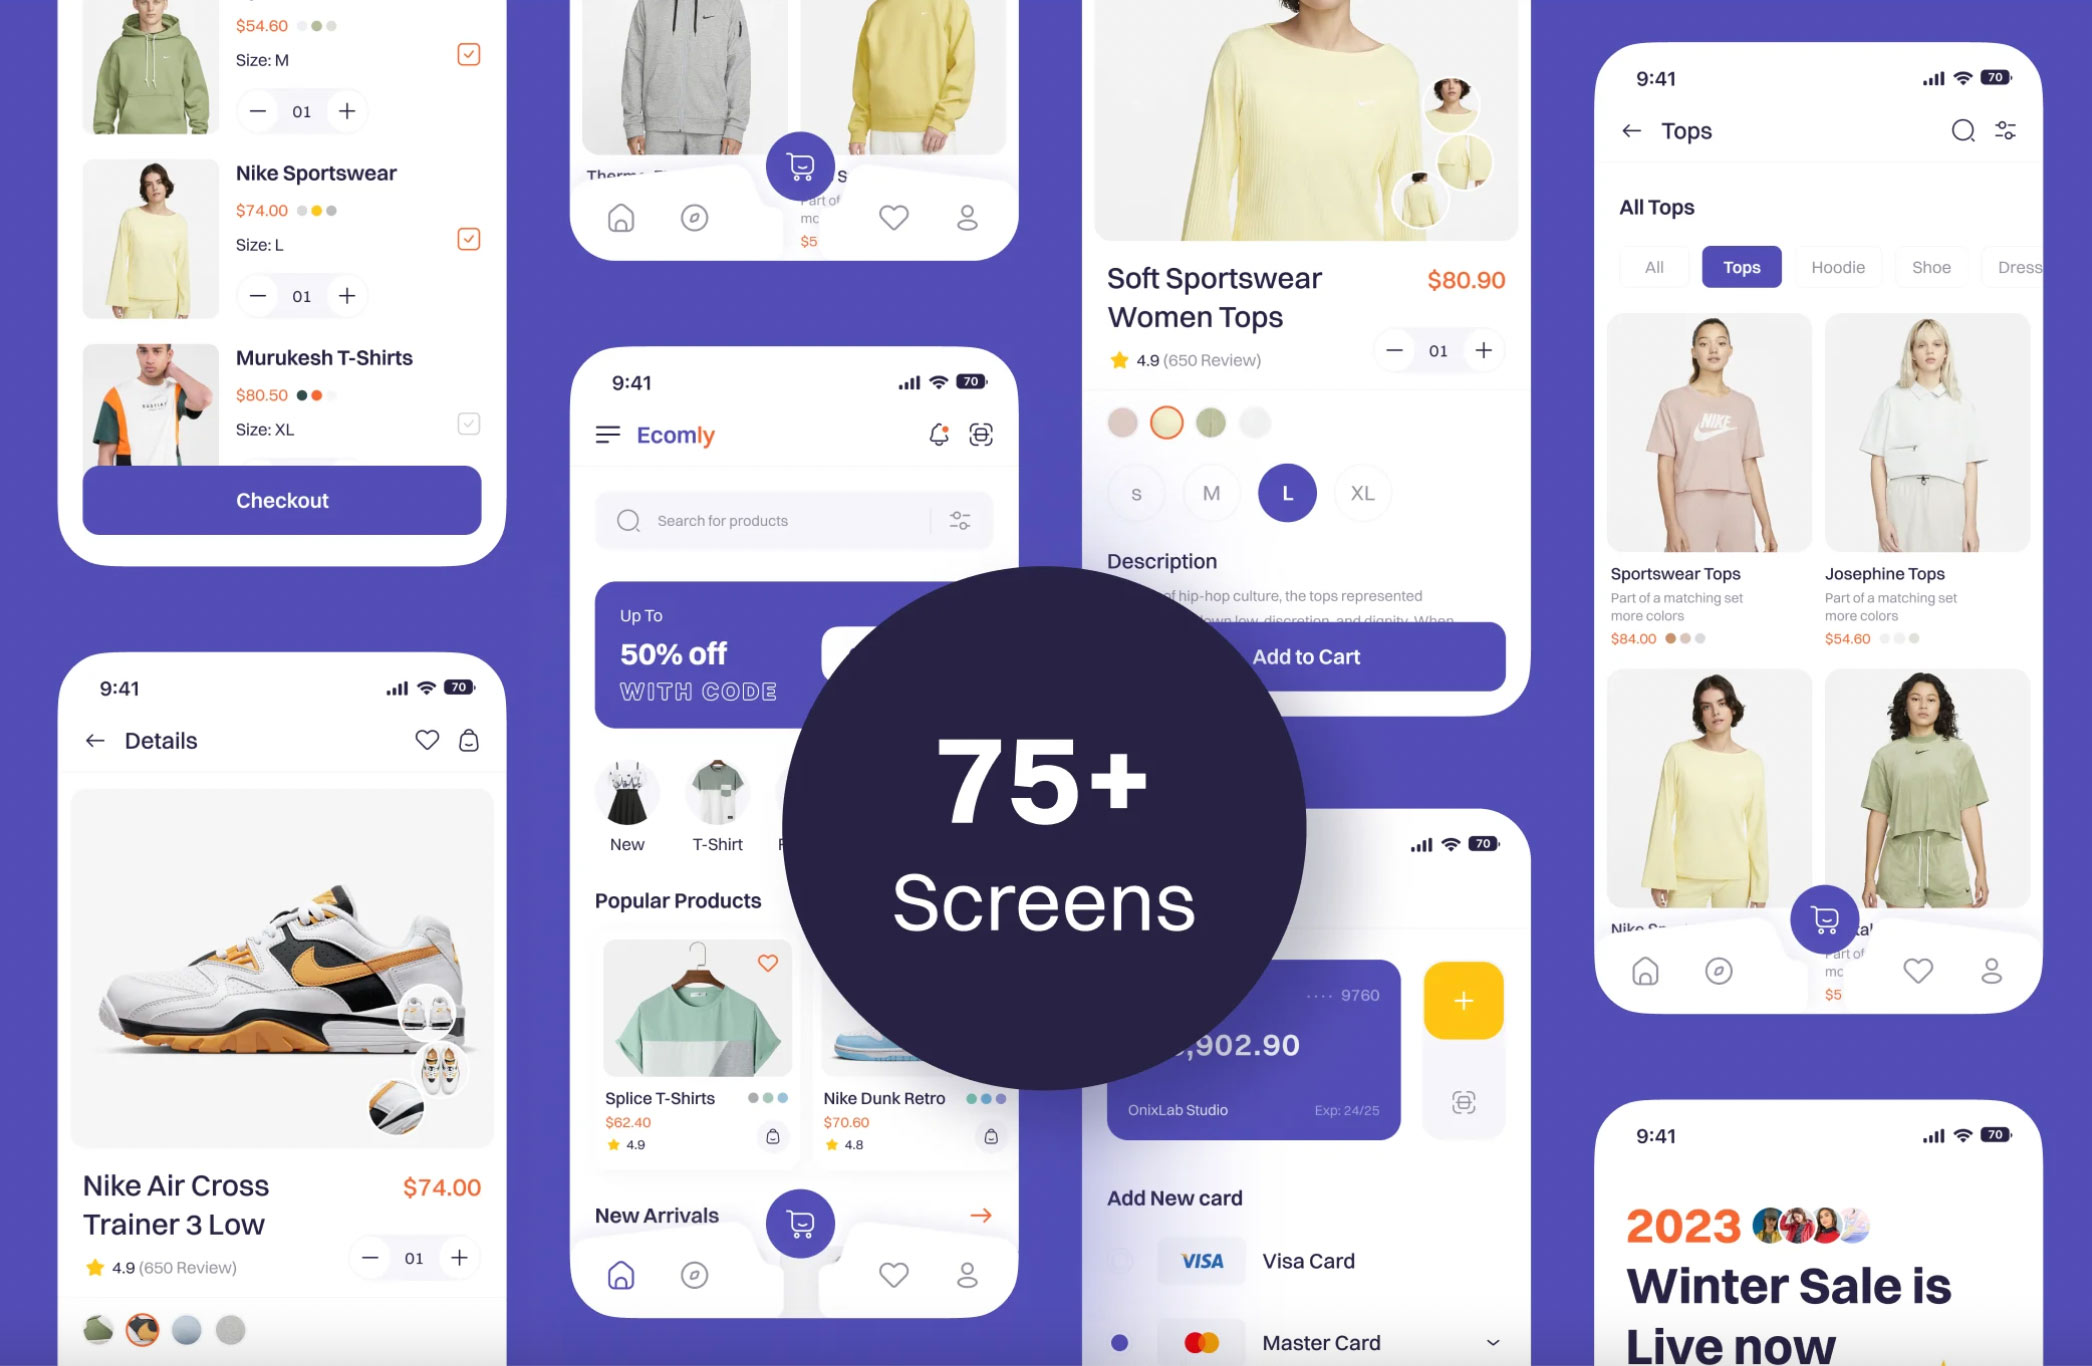
This source code comes with richer features like with a cart management and dark and light mode. It would also cover payment section.
Dark and light mode not covered in the course of Udemy. It's only given in the source code of tier 3.
The complete code would be released by the end of January. The complete source code would include 75+ screen altogether for dark and light theme.
4. Riverpod clean architecture tier 4 code (commercial)
If you want to do better with this app, you also need to buy the admin panel app desktop app. Admin panel would be a Flutter desktop app. It's done constructing.
It includes all the features of tier 1, 2 and 3. It also includes all the parts free course coupon of this series.
If you buy the user end app (tier 3) and admin panel app (tier 4), that's your commercial license. You may use it only for your own purpose. You can not resell the app. But if you want to put app in the app store, you may do it. But remodifying and reselling the code is totally forbidden.
Frontend Technical Stack
This app integrates all the popular packages to faciliate user experience and app development easy. Let's take a look the below picture and break down why we have used them.
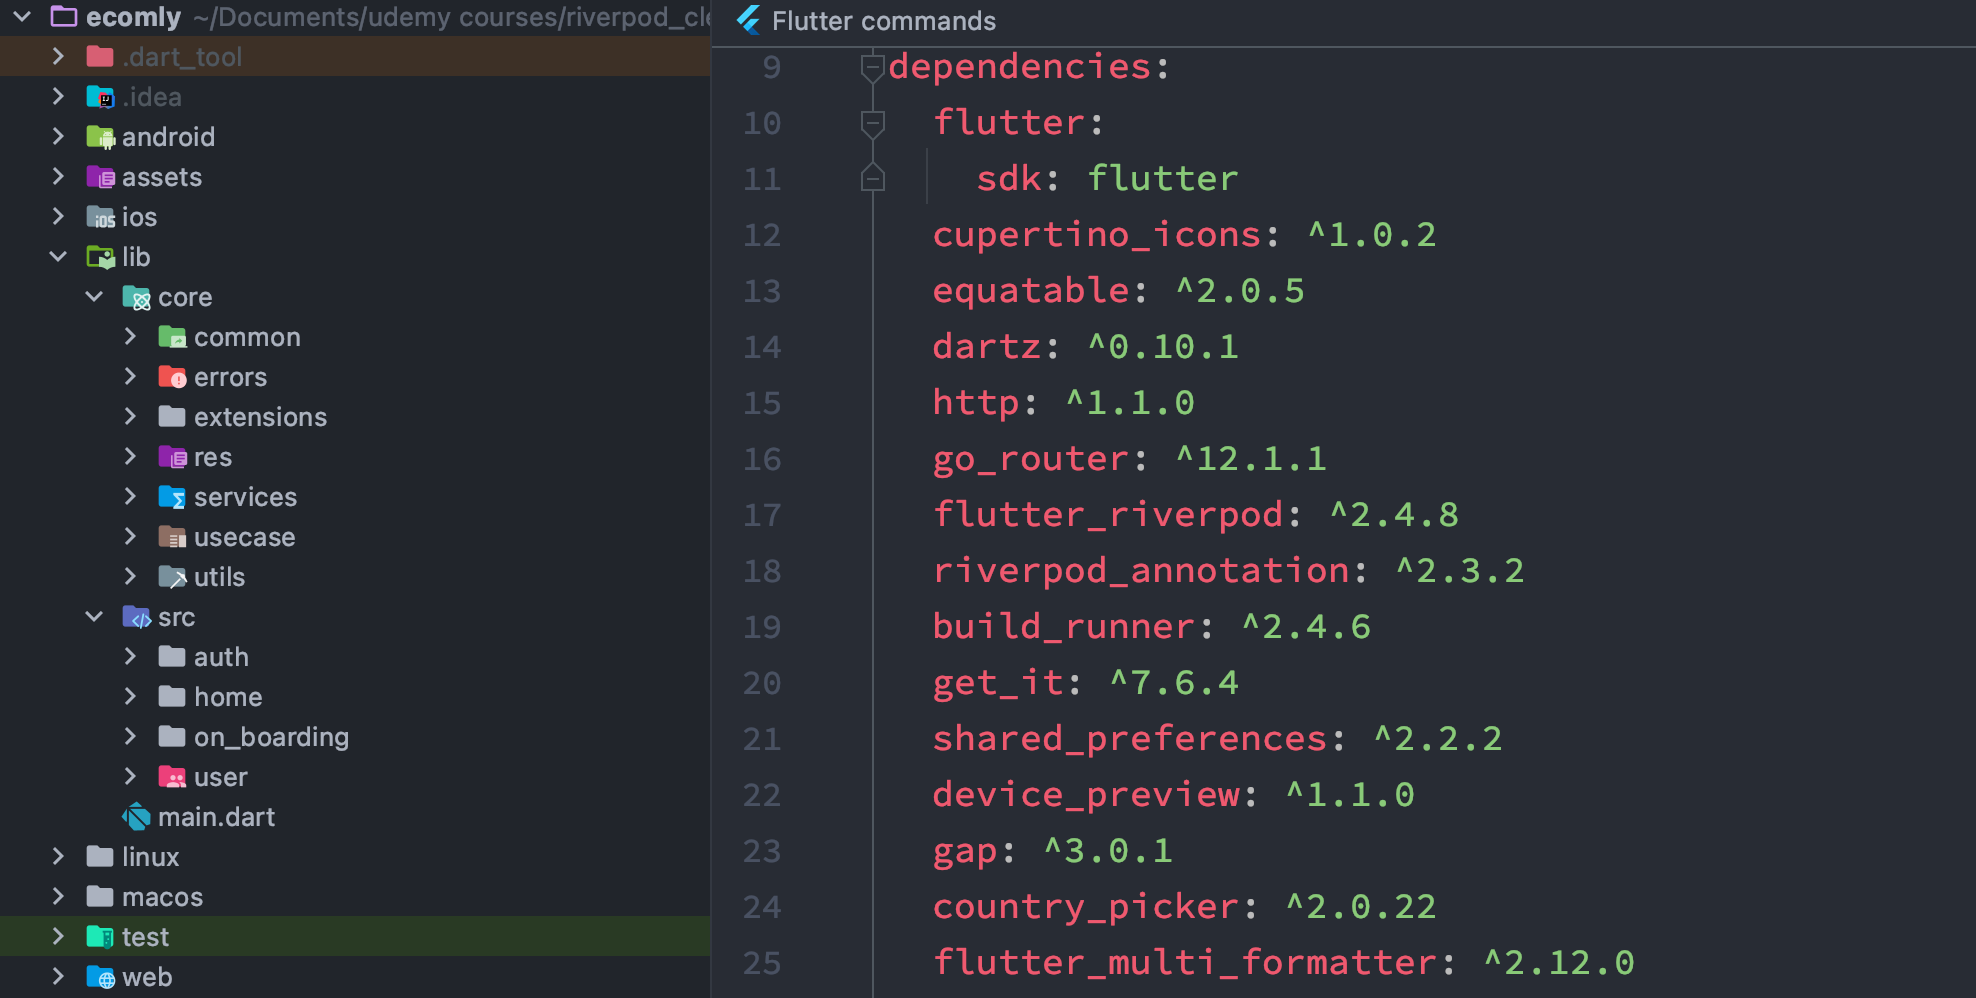
Apart from clean architecture approach we have used equatable, dartz, go_router, flutter_riverpod, riverpod_annotation, get_it, country_picker.
Since we are using Riverpod 2.0 for state management, we also needed to use riverpod_annotation. This package would help us auto generate riverpod code. We have used equatable package to check to objects same or not. Then we dartz package to handle server response correctly.
After that go_router is better for nested navigation. Otherwise than we could have just used Flutter native navigation.
At the end get_it helps us to inject dependencies just like we used for BLoC pattern.
Backend Tech Stack
As we are building a scalable app, Nodejs seems to be the best for backend. Instead of using bare bone Nodejs we go with Express framework which will make life easier.
Since we also want to use modern database system, we use Mongodb as a database which is more like Firebase NoSQL.
Cron job
Here we introduced a special cron job feature in the backend which communicates with front-end as well. Cron job helps to keep track of the finished and unfinished orders. If there are unfinished orders.
Any sophisticated shop app should have it. Let's see the cron job app log
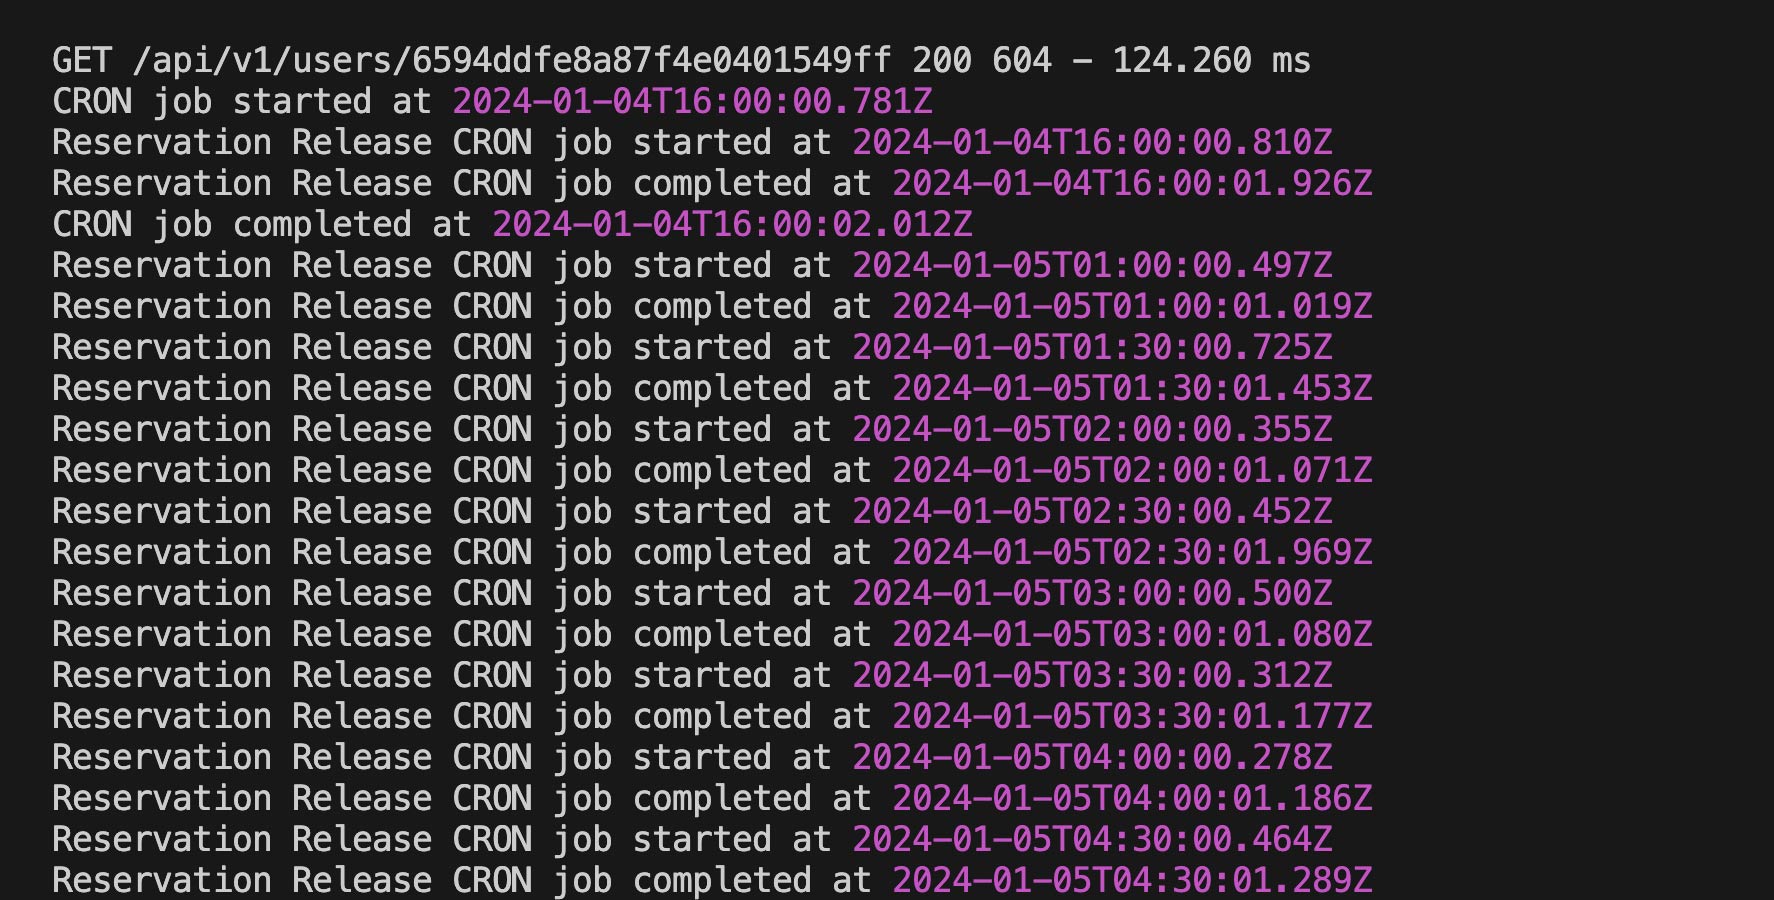
Installation process
1. simply get the source code
2. set up server correctly based on this article
3. make sure you have mongodb and connection string in the .env file
4. make sure have an .env. If not then create one and put the Strings from the below
5. then run npm i
6. then run npm start
API_URL = /api/v1
PORT = 3000
IP = localhost
ACCESS_TOKEN_SECRET = whoismybrother
REFRESH_TOKEN_SECRET = takeusbacktoourbrother
CONNECTION_STRING = "Put your String here"/?retryWrites=true&w=majority

EMAIL=
EMAIL_PASSWORD=
Currently the connection string is given in the code itself. You may simply use that. For email, use the given crendentials on then .env file of the source code.
Corrent version
More frontend features and backend app is still under active development. Frontend all the features and backend api would be done by end of January 2024.
Backend flutter app would be done February 2024 and first part of tutorial would be released on Feb 2024.
Upload data to mongodb
Setup nodemailer
Here you go and set up your nodemailer. This video tutorial will how guide you how to set up and send emails.
Stripe payment setup
Here you will see how to set up Stripe payment cli and keep it up and running
Change log
14. 16-01-2024 Email confirmation
13. 16-01-2024 Added cart animation
12. 15-01-2024 Updated the search section
11. 11-01-2024 Added extra features on cart
10. 10-01-2024 Added cart and update function
9. 03-01-2024 Update wishlist
8. 02-01-2024 Updated the cron job for product orders
7. 28-12-2023 Updated the commenting
6. 27-12-2023 Updated the rating system
5. 25-12-2023 Updated side bar
4. 20-12-2023 Comment update on frontend and backend
3. 15-12-2023 Backend api update for home page and product search
2. 11-12-2023 Backend api update for products
1. 09-12-2023 Login ui and basic backend
2024-08-25 08:38:10
good very nice!!! 5 star not but
2024-08-01 03:55:04
Very good initiative from you!Great work
2024-08-01 03:55:01
Very good initiative from you!Great work