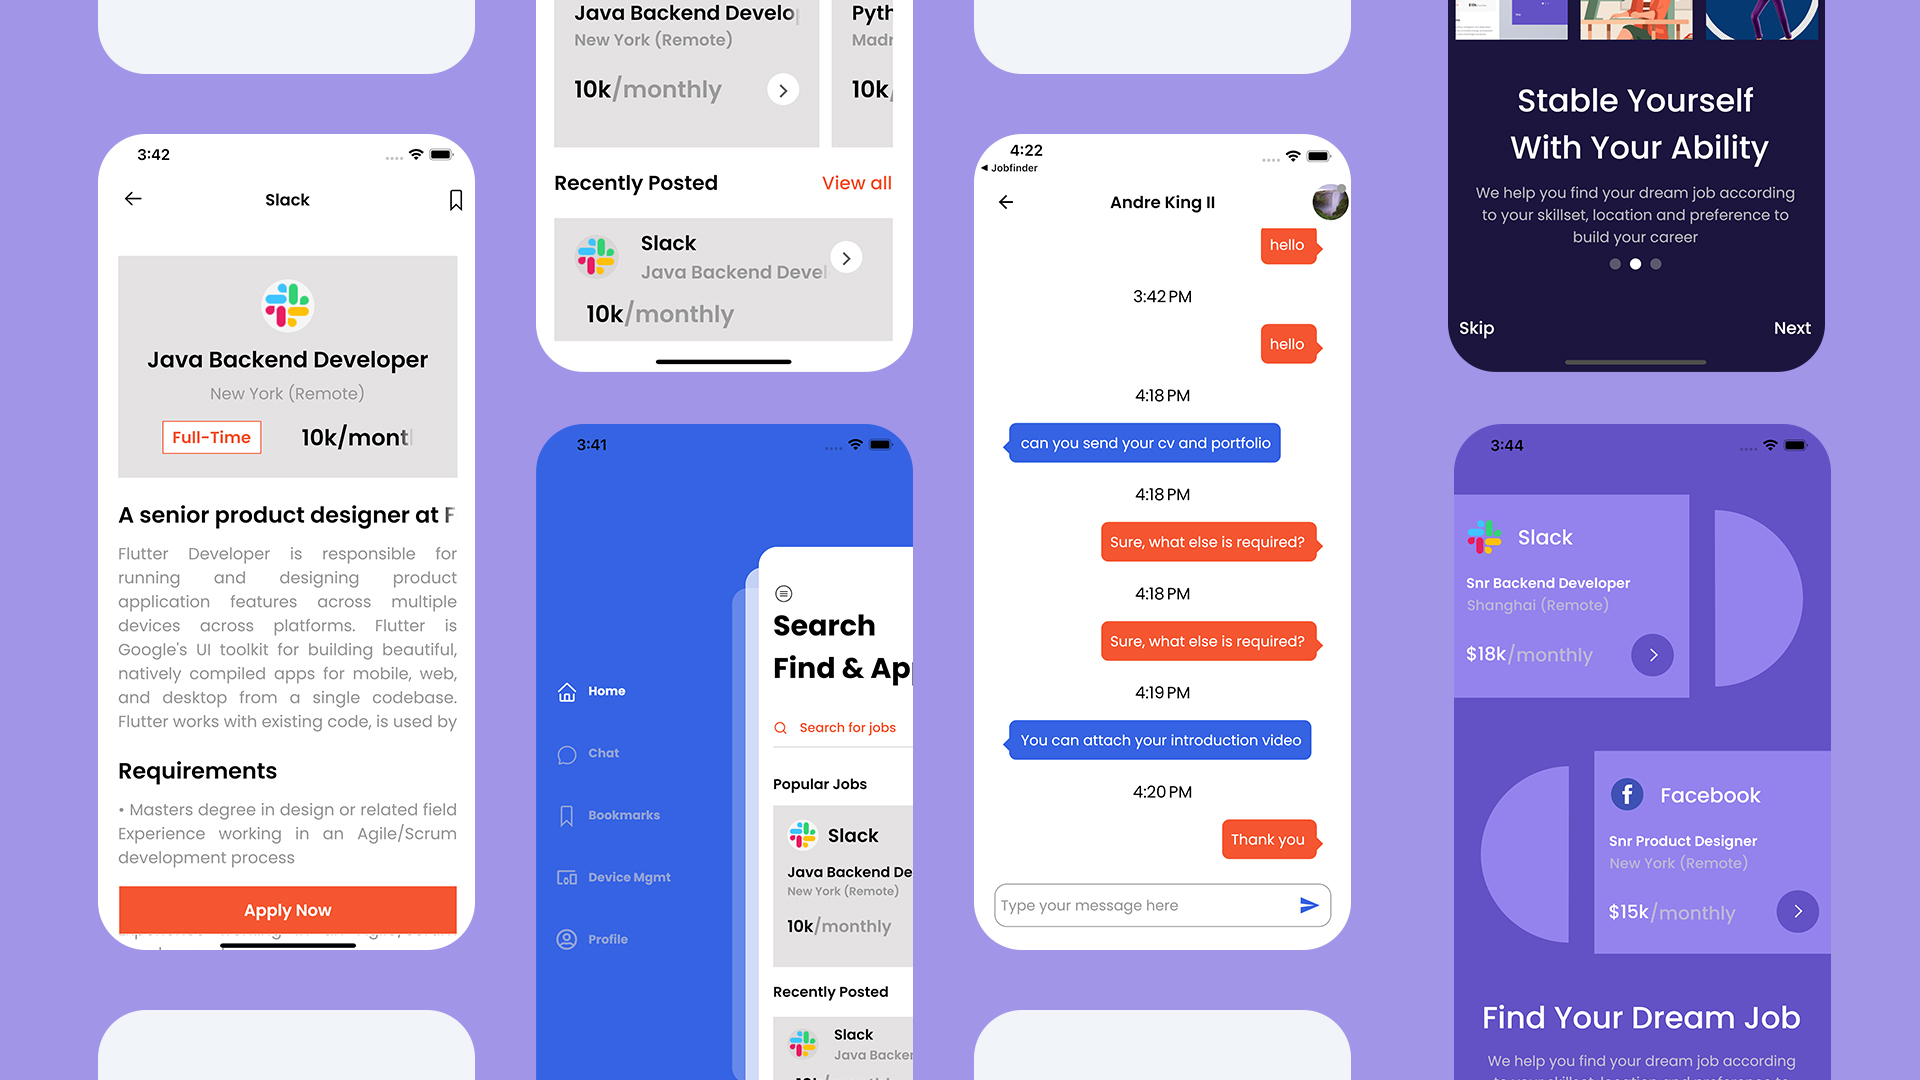
This is a Nodejs and Flutter complete app for beginners to advanced level. Here in tutorial we will use Mongodb for our database and JWT for authentication and socket for chatting.

Flutter and Nodejs is covered from beginners to advanced level. We also showed how to deploy your Nodejs server to real world server. You may use that server for free.
We used Nodejs for restful using Express framework. Since it's most popular Nodejs framework, it would be easy to follow for everyone. We have used socket for chatting and sending data between servers.

Complete code on buymecoffee
Follow the course on Udemy
We have also build real time chatting with firebase, so that you learn how to do chatting with flutter, nodejs, mongodb.
Frontend Flutter we started from onboarding screen to login to chatting app. We have used Provider package for managing state.
Provider is one of the most popular package for managing states and easy to follow. As far as flutter framework goes, we have used the latest version to create this tutorial.
This tutorial covers more than 12 hours which is enough to finish all these. You will start with a starter file and finish with an excellent complete app.
1. Initializing the Express App
To kickstart our project, we begin by setting up a Node.js app with Express. By leveraging the simplicity and flexibility of Express, we can quickly establish a solid foundation for our backend architecture.
2. Parsing JSON Data
To handle JSON data, we incorporate the "express json" middleware. This enables us to effortlessly parse incoming JSON requests, simplifying the handling and manipulation of data within our application.
3. Integrating dotenv for Environment Variables
Securing sensitive information is paramount, especially when dealing with credentials or API keys. By integrating the dotenv package, we can load environment variables from a .env file, ensuring that sensitive data remains confidential.
4. Authentication with Encrypted Passwords
To enhance security, we employ the crypto-js library to encrypt passwords securely. Additionally, we utilize the jsonwebtoken library to sign tokens for authentication purposes. These measures help safeguard user data and prevent unauthorized access.
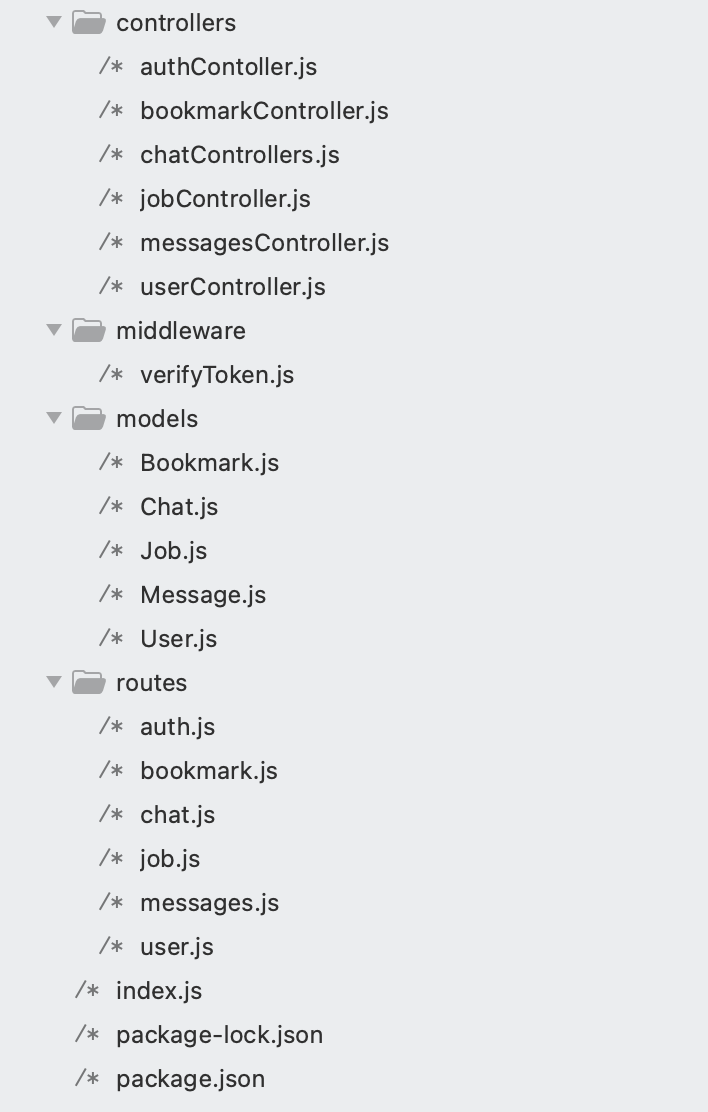
5. Separating Logic into Controllers
To maintain clean and organized code, we extract the logic from our routes and encapsulate them within separate controllers. By doing so, we ensure a clear separation of concerns and promote code reusability.
6. Utilizing Middleware for Route Protection
To add an extra layer of security, we implement middleware functions that protect specific routes from unauthorized access. This ensures that only authenticated users can access protected endpoints.
7. Creating Specialized Controllers and Routes
To handle different functionalities efficiently, we create distinct controllers for various features within our REST API. These include controllers for messaging, bookmarking, job management, user operations, and authentication. Each controller is accompanied by dedicated routes to handle specific API endpoints.
8. Connecting MongoDB to the Application
To store and retrieve data, we integrate MongoDB into our application. This NoSQL database provides a flexible and scalable solution. We also explore the basics of MongoDB, such as creating search indices to optimize query performance.
9. Testing Endpoints and API Documentation
To ensure the correctness and reliability of our endpoints, we run tests using tools like Postman. Additionally, we cover the creation of collections and the utilization of environments within Postman, facilitating efficient API testing and documentation.
10. Preparing for Deployment
To prepare our application for deployment, we discuss the necessary steps to take. This includes creating a repository on a platform like GitHub, adding files to the repository, and excluding unwanted files from commits. These practices contribute to maintaining a clean and well-structured codebase.
11. Deployment with Railway
Finally, we explore the process of deploying our server using Railway, a platform that simplifies the deployment of Node.js applications. By following the outlined steps, we ensure that our application is accessible to users and operates reliably in a production environment.
Installation Guide
Three steps installation guide covers creating accounts, change role as an agent and then start chatting. Make sure you uploading jobs as agents you do correctly, otherwise you will get a lot of errors and can not chat.
User accounts
Uploading jobs as an Agent
User and Agent Chats
Chat server set up
Chatting between users
 starter file