Let's take walk about Nodejs server setup and then we will see Middlwares in Nodejs, and local security.
TODOS:
We will start by building out the backend, this way we have an API to consume as we build the front-end. For the backend, we will need the following tools:
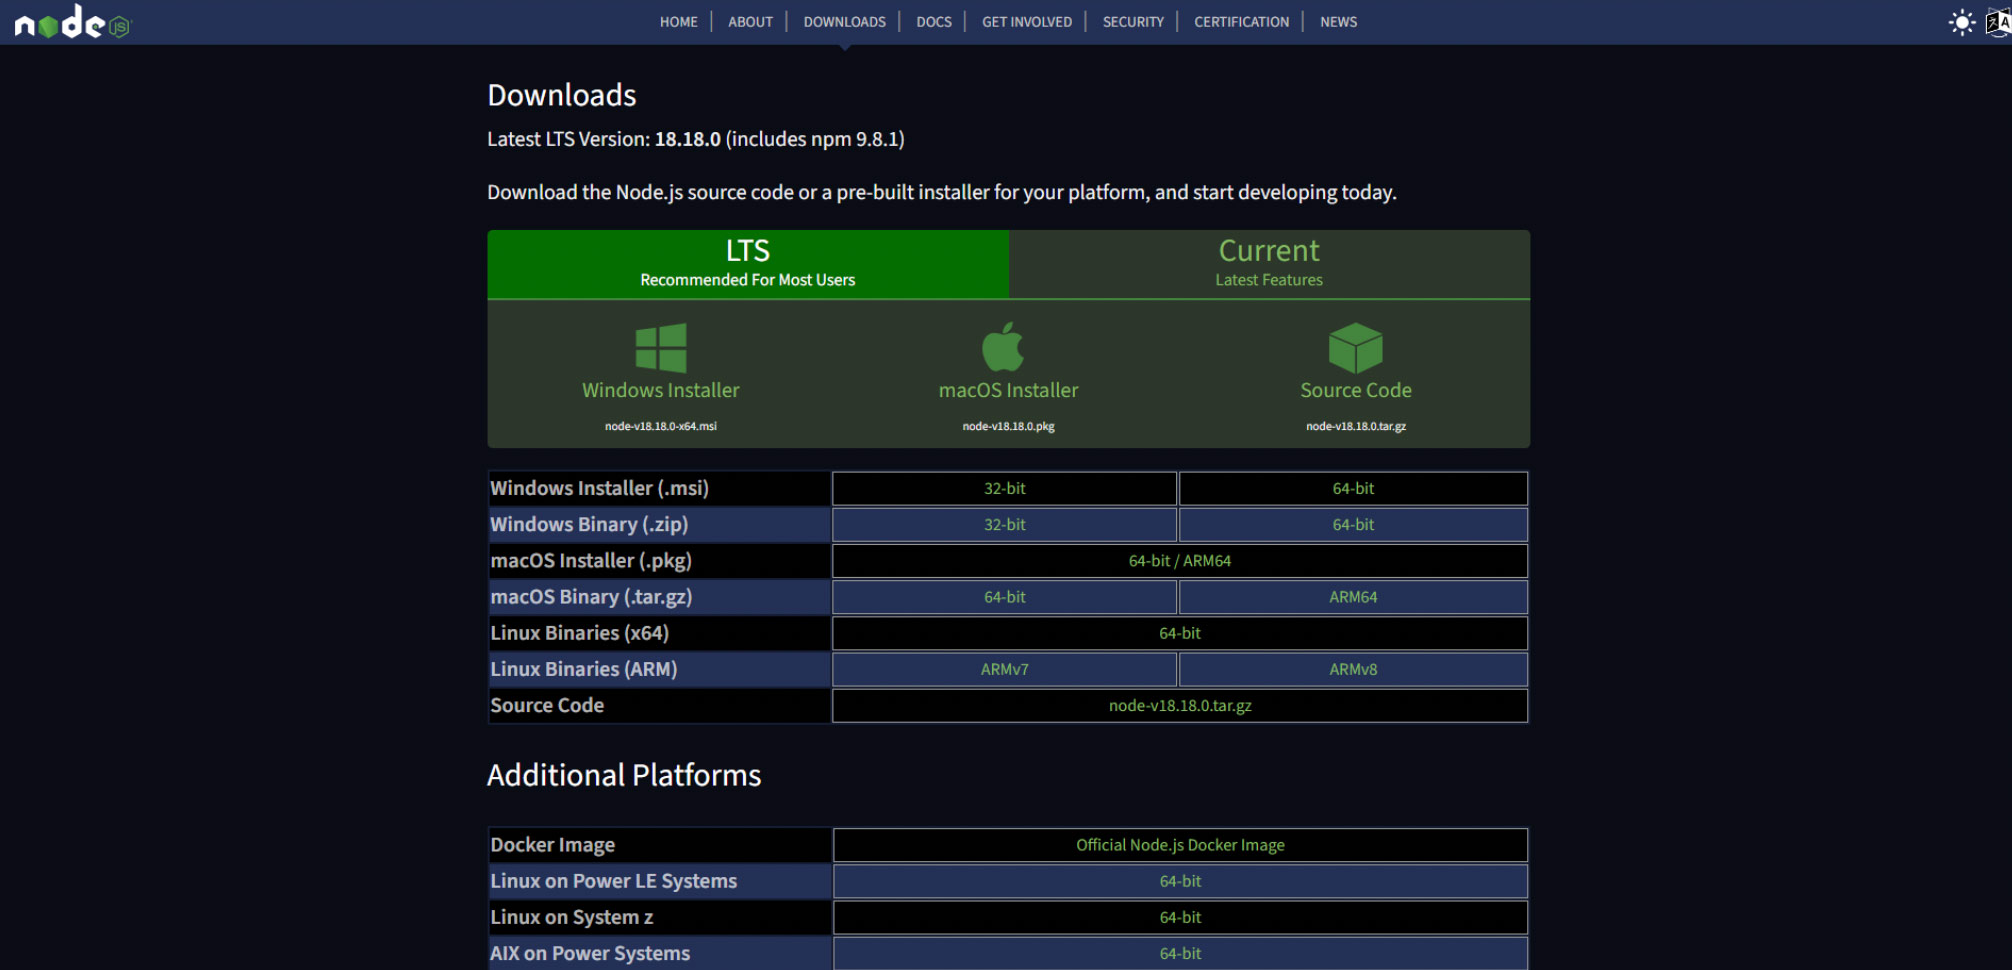
In order to install NodeJs, you can visit https://nodejs.org/en/download, here you can download nodeJs for your operating system. Now when choosing what to download, we have LTS, and we have Current, the most stable version is LTS and this is the recommended version you should get.

After installing this, you can verify your installation by running npm version in a terminal, if you see a version, then your installation is successful.
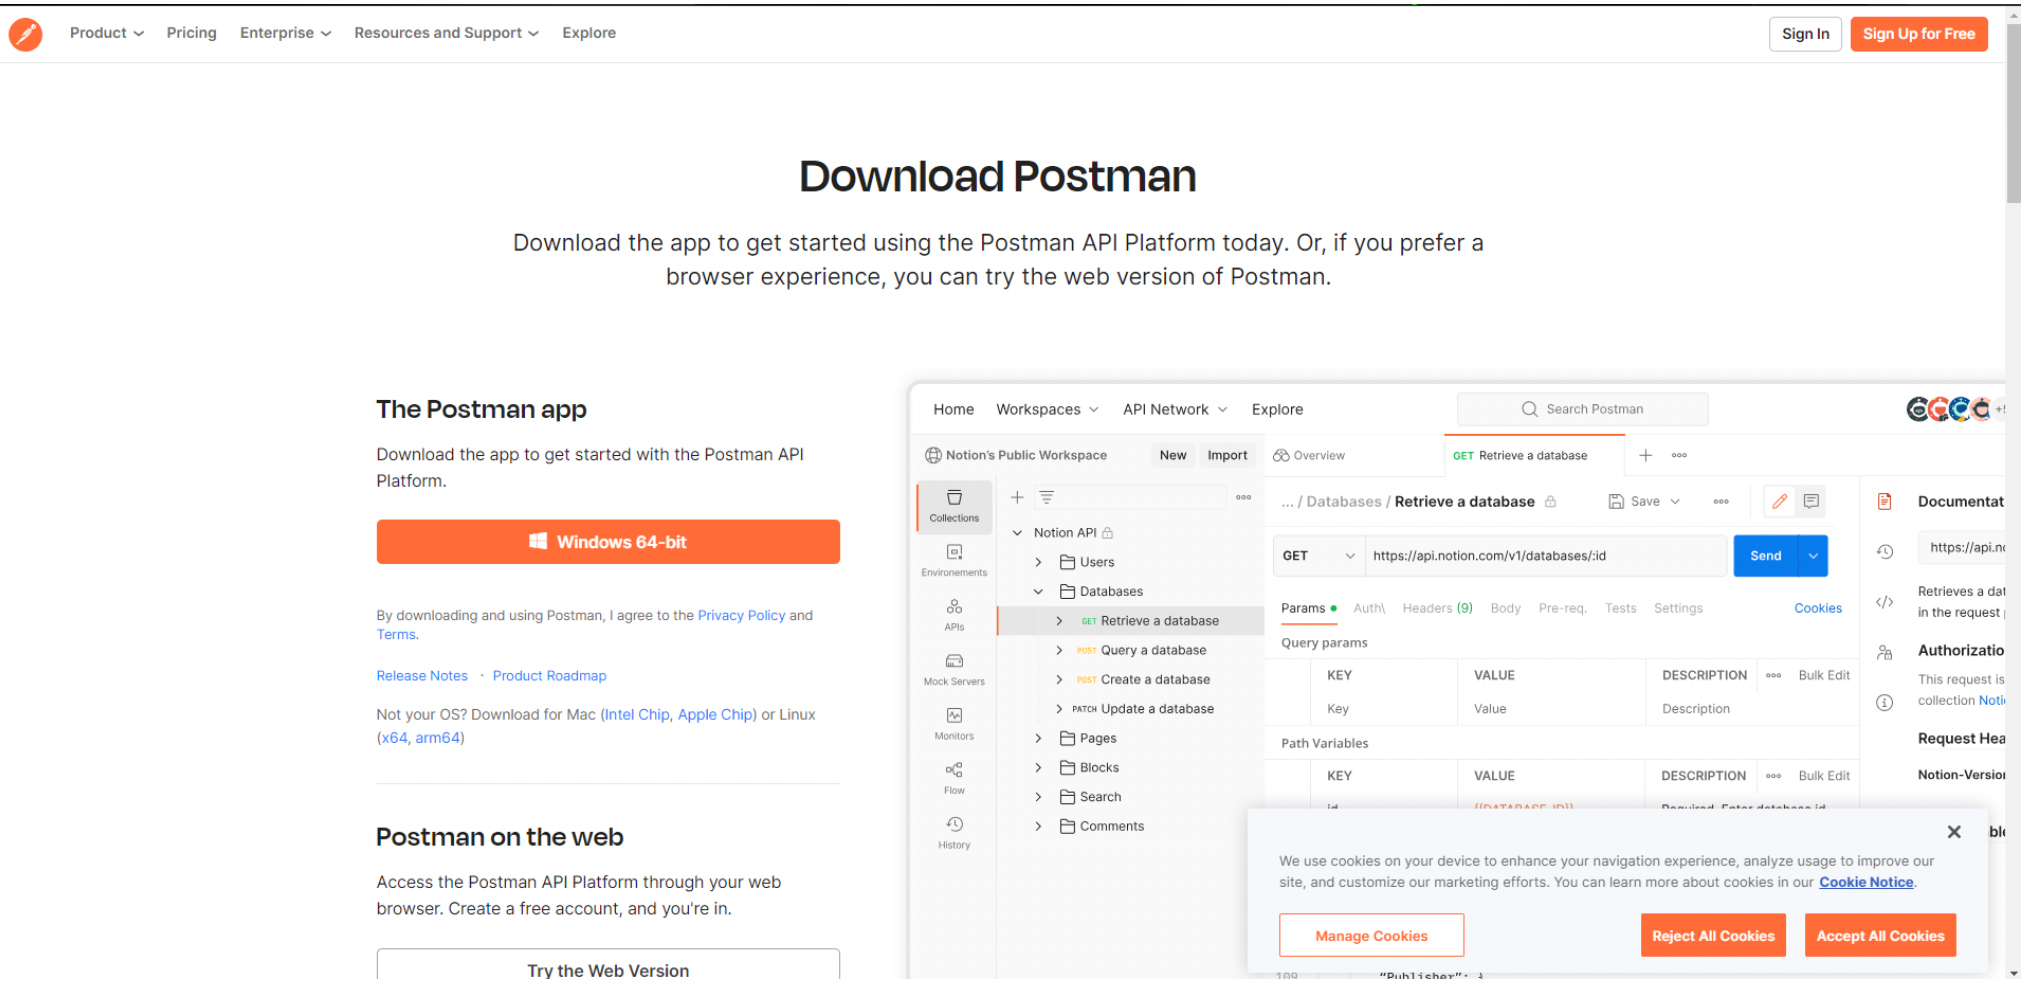
In order to install postman, you can visit https://www.postman.com/downloads/, here you can also choose a version to download based on your operating system, and follow the normal installation procedures.

GETTING STARTED
The first thing we need to do is create a directory to store our backend source code and initialize a new nodeJS project in that directory. To do this, you could either manually create this folder using the GUI or you could go to a command line and navigate to the folder where you want to store the source code and create a new directory mkdir <name_of_directory> for example, our project will be called elecshop, so we could say mkdir elecshop. This should create a directory called elecshop in your parent directory, now you can navigate into it and open it in visual studio code.
PROJECT INITIALIZATION When in your vscode, you could open the terminal, and make sure you’re in the root directory of your project, then run the npm init command, this should start a process and ask you some questions, the ones you want to pay attention to would be the package name, and the entry point, which we could leave as the default index.js, or use app.js, which we are going to use in this project. This is totally up to you, it doesn’t matter, it’s just a matter of convention. Optionally, you could also provide a description. After this, you can see a package.json file created in your project.
FIRST CODE
We will create an app.js file in the root of your project, and in here, let’s write our first code. console.log(‘hello world’)
NODEMON You could run this code the usual way, and each time you change something, you would manually re-run the code. Optionally, you could introduce a “hot-reload” feature, as we are familiar with from flutter, and we can do this with the help of a package called NodeMon.
Nodemon is a fantastic tool for Node.js developers, It stands for "Node Monitor," and it's an incredibly handy utility for automatically restarting your Node.js application when changes are detected in your codebase. Here's why it's often advised to use Nodemon when running Node.js projects:
INSTALLATION
To install nodemon, simply open any terminal and type npm install nodemon.
Now in order to run the server using nodemon, we would have to write a lengthy command, but the package.json contains a scripts section, where you can define custom commands to run using the Node Package Manager(npm) and define shorter syntaxes for them, so, you define a short syntax, as the key, and the value of it will be the long command you would normally run to get it done, so your app listens for those shorter scripts to match them to the appropriate commands. Here's how it works:
Basic Structure:
"scripts": { "script-name": "command-to-execute" }
Usage:
You can run a script from the command line using npm. To do this, you use npm run followed by the script name. For example: npm run script-name
Common Use Cases:
Starting Your Application: As in our case, we can define a script to start our Node.js application. For example, you might have a script like this in your package.json:
"scripts": { "start": "nodemon app.js" }
Now, you can start your application by running npm run start in the terminal.
CONVENTIONS
npm start:
This is a common script name for starting your application. By convention, npm looks for a "start" script in your package.json and treats it as a special case. When you use npm start, npm automatically knows that you want to execute the script defined in the "start" field of your package.json.
These conventions make running your application and tests more straightforward and intuitive. When developers see npm start in a project, they know it's the command to launch the application, and when they see npm test, they understand it's for running tests. In contrast, for custom scripts that aren't part of these conventions, you use npm run script-name, where "script-name" is the name you provided in your "scripts" section.
So, go into your package.json, and define a new script, “start”: “nodemon app.js”, which will use the nodemon library to run app.js our entry point.

After this, go to your terminal and simply run npm start and watch the magic happen.
UNDERSTANDING OUR WEB SERVER FROM A FLUTTER STANDPOINT
Node.js is essentially a runtime environment for executing JavaScript on the server side. It provides the necessary capabilities to handle I/O operations, manage events, and perform network tasks, much like how the Dart runtime is responsible for executing your Flutter code on mobile devices. Just as Dart forms the foundation for your Flutter mobile apps, Node.js acts as the foundational technology for running JavaScript on the server. It's the platform that enables server-side JavaScript development and allows you to build web servers, APIs, and more using JavaScript. So, drawing a parallel between Node.js and the Dart runtime is a helpful way to understand their respective roles in their respective domains.
Node.js in the context of your development background as a flutter developer is somewhat akin to the Dart programming language itself. Just as Dart is the foundational language used in Flutter for creating mobile applications, Node.js serves as the core runtime environment for server-side JavaScript.
In this analogy, Node.js serves as the foundational language/runtime for server-side JavaScript, while Express.js is like Flutter's counterpart for web server development, providing a structured and efficient way to create web applications. Your experience as a Flutter developer can help you grasp these concepts, as they share similarities in simplifying development on their respective platforms.
Express.js is a fast, minimalist, and flexible Node.js web application framework. It's not required for creating a web server in Node.js, but it simplifies the process and offers numerous benefits:
Now that we have the basics down, we can start our local server, we can provide it with a port and add a simple callback to tell us when our server has started successfully.
const express = require('express');
const app = express();

app.listen(3000, () => {
    console.log(`Server running at http://localhost:${PORT}`);
});
so, now, when we run npm start, it will trigger our app.listen at the PORT we provided, then the callback will run and tell us that the server is running at localhost, this is the default address, meaning only your computer can access it, no other computer can, even if they are on the same network with you.
So, think of ports as doors in a building. Each door (port) is like an entrance for data to flow in and out. Computers use ports to manage different types of network traffic. There are well-known ports for specific services, like port 80 for HTTP or 443 for HTTPS. You could explore that in your own time, but for this tutorial, we will just touch on it a bit and move on
When you start a server with app.listen(PORT, IP, () => {}), you're essentially telling your application to open a door (port) and listen for incoming data at a specific IP address. The IP address identifies the device on the network, and the port helps direct the data to the right service or process on that device.
Now, why do we do this? Well, it's about organizing and directing traffic efficiently. Imagine a server as a busy office building. The IP address is like the building's address, and ports are the different departments inside. By specifying the port along with the IP, you're telling the server which department (service) should handle the incoming data.
As for the magic part, it's all about networking protocols. When a connection is established, data packets are sent and received through the specified port. The server knows which process or service should handle these packets based on the port number. It's like a well-orchestrated symphony where each instrument (port) plays its part to create a harmonious connection.
In our case, we are only providing the port, when you don't provide the ip address, it automatically defaults to localhost. When you run a server on your machine and set it to listen on localhost, it means the server is accepting connections only from your computer. It's a way for your applications to communicate internally without going out to the broader internet.
        // PORT  // IP
app.listen(3000, 127.0.0.1, () => {...})2024-08-18 20:01:26
i use ios but the prot dynamicaly change how to fix that ?
You can if the platform is iOS or android using Platform package. But in real world it does not matter since you will be using a domain.
2024-08-18 12:26:27
hey can you tell me what is the problem of 500 Error: ClientException with SocketException: Connection refused (OS Error: Connection refused, errno = 61), address = 127.0.0.1, port = 53897, uri=http://127.0.0.1:3000/api/v1/register
127 is for ios, for android it starts with 10.0...
2024-08-18 12:26:25
hey can you tell me what is the problem of 500 Error: ClientException with SocketException: Connection refused (OS Error: Connection refused, errno = 61), address = 127.0.0.1, port = 53897, uri=http://127.0.0.1:3000/api/v1/register